VW MK1 Restoration Blog – THE PAINT PROCESS

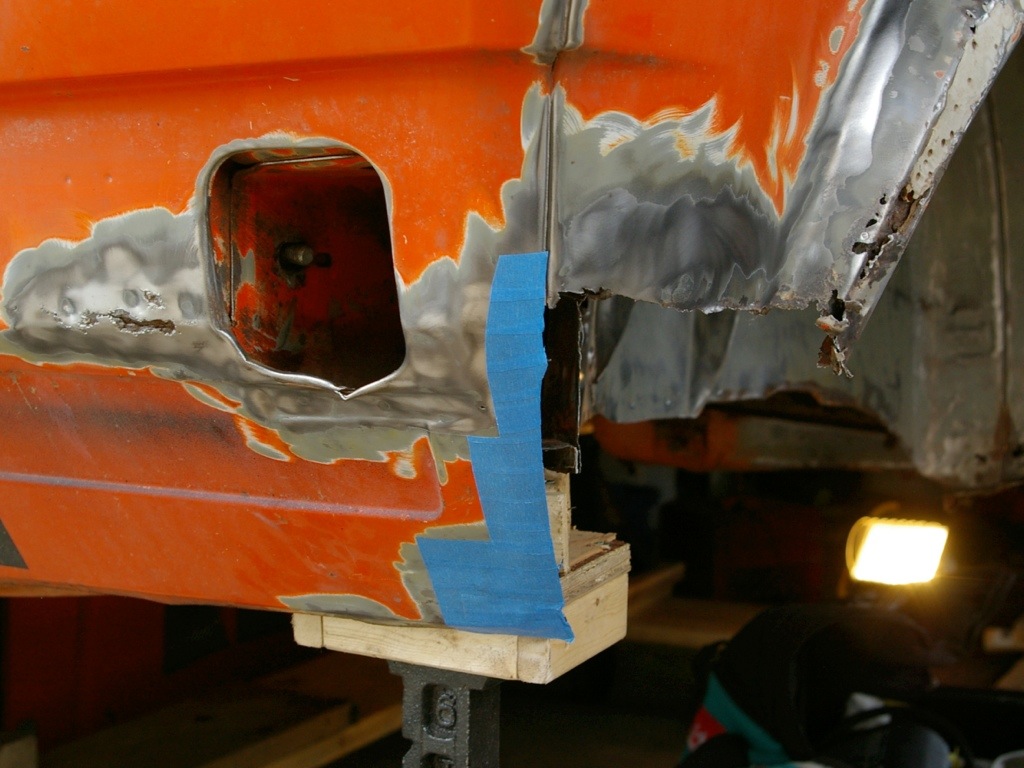
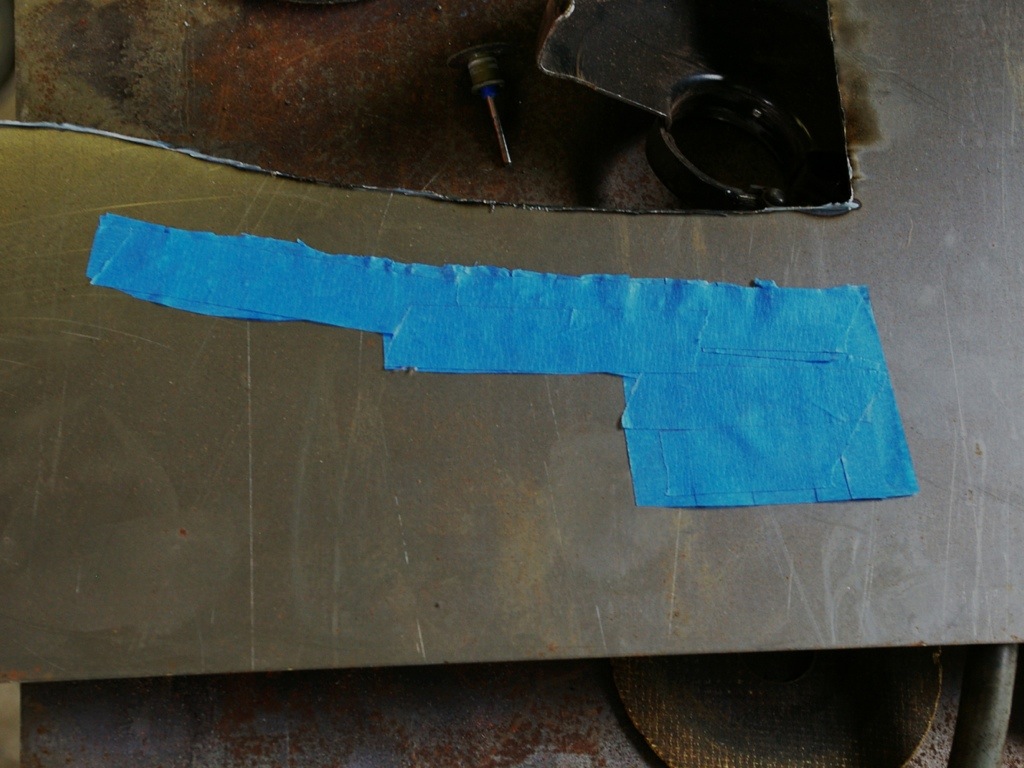
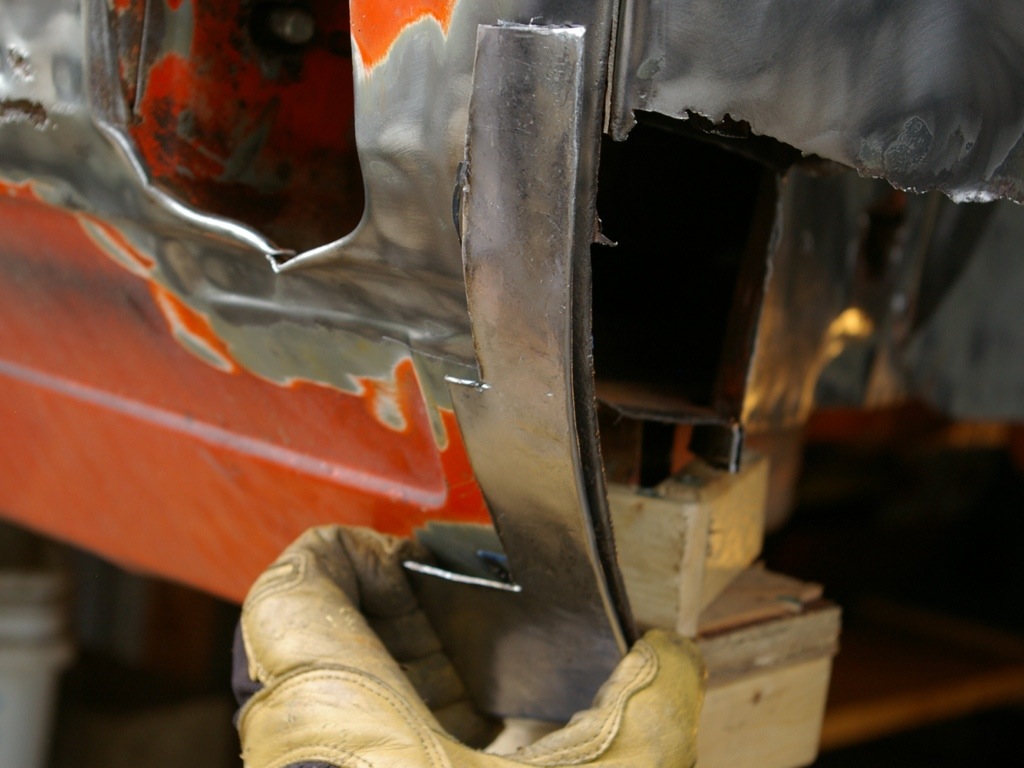
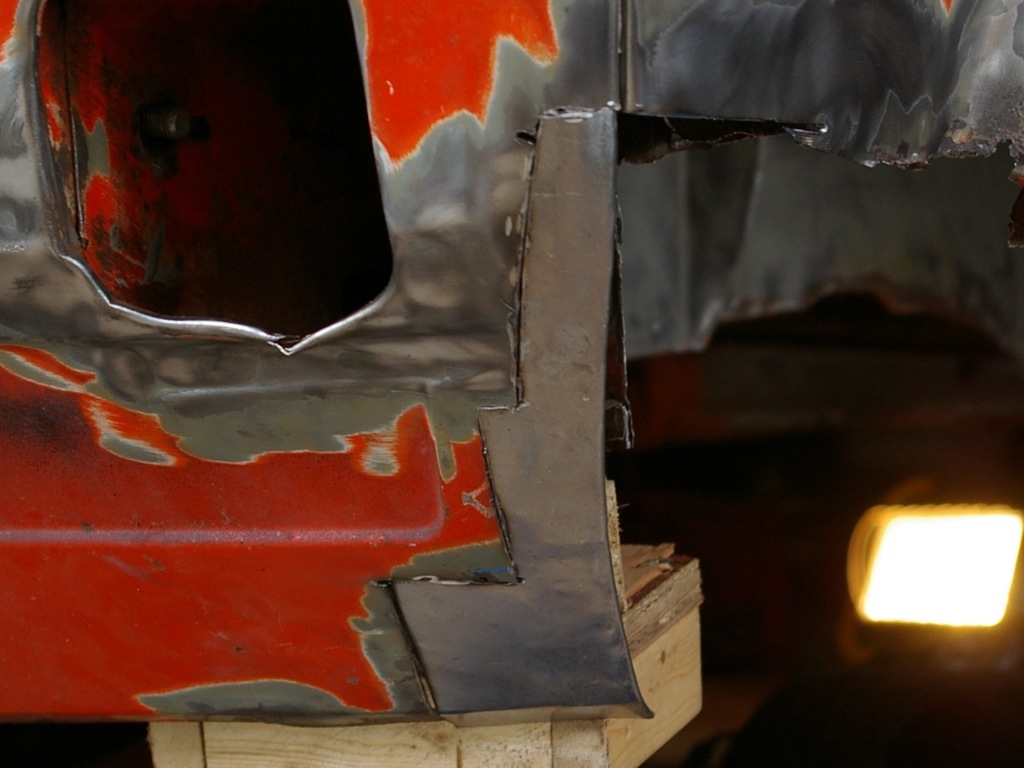
Working around limitations.

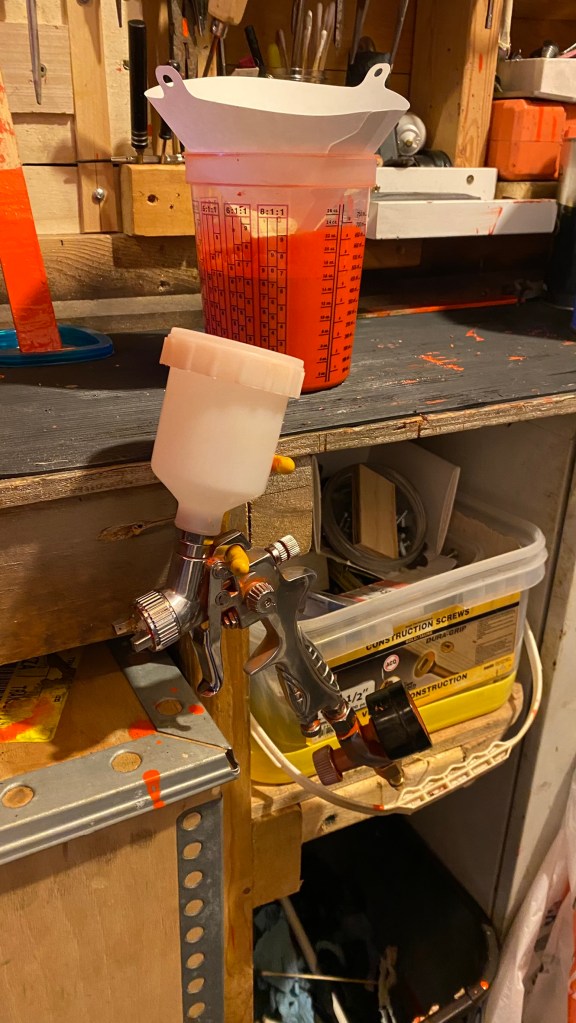
Smaller Air Compressors can be a real problem when using a larger paint spray gun, like you see in all the videos online and like what all the pros use, sure it was good, but it was only good for 4 – 5 minutes of spray time before you were outta pressure and air. Then you had to let the compressor fill the air tanks again. It was good for a small area, but the small compressor just couldn’t keep up for a larger paint area. Having a consistent smooth workflow with minimal interruptions is whats needed when painting a larger area, you want to have quick access to pre mixed paint to refill the paint cup, and other tools needed during the paint process. most important though is to not have to wait for your air compressor to catch up.

Getting a smaller spray gun helped a lot. The paint cup needed to be refilled more often, but the compressor could keep up better with the smaller air capacity and flow requirements. Being able to paint a larger area without any stops in the workflow was key, the smaller gun also slowed down the process alittle, and for a first timer that might not have been such a bad idea, it allowed me to think more about each step and focus on smaller areas of the bigger picture so to speak. It’s Easy to get carried away and the smaller gun helped control the paint process into an more methodical approach.

THE PROCESS

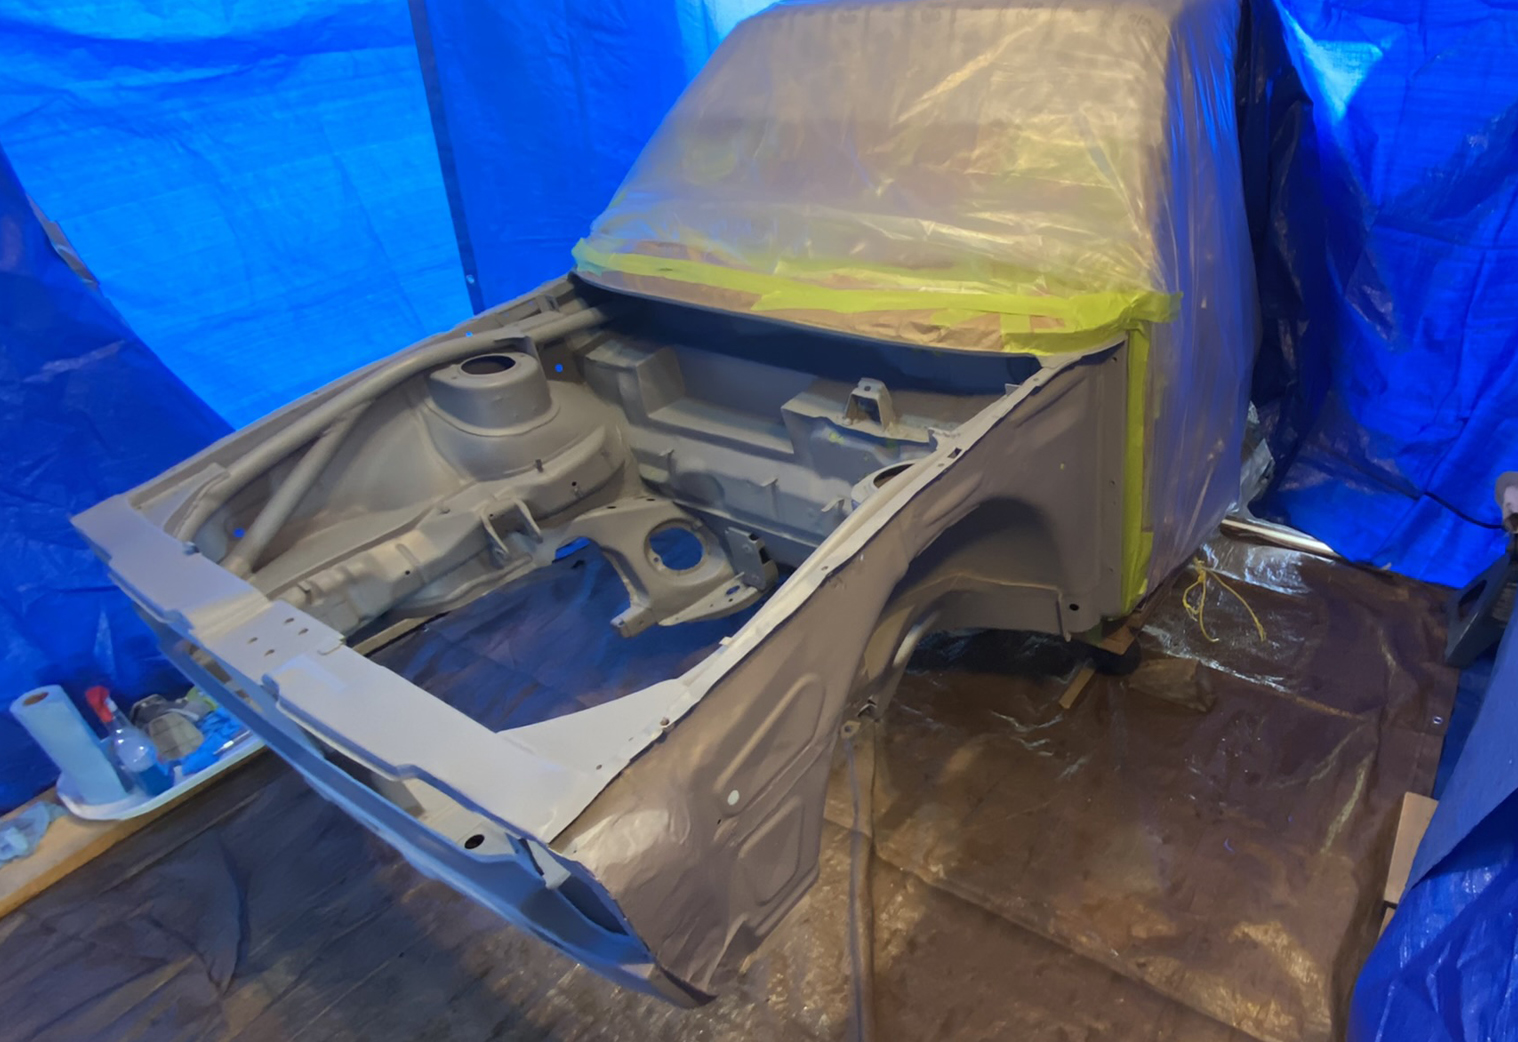
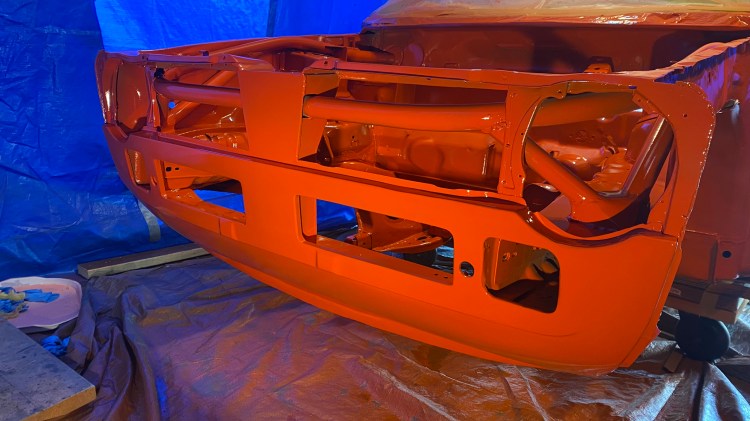
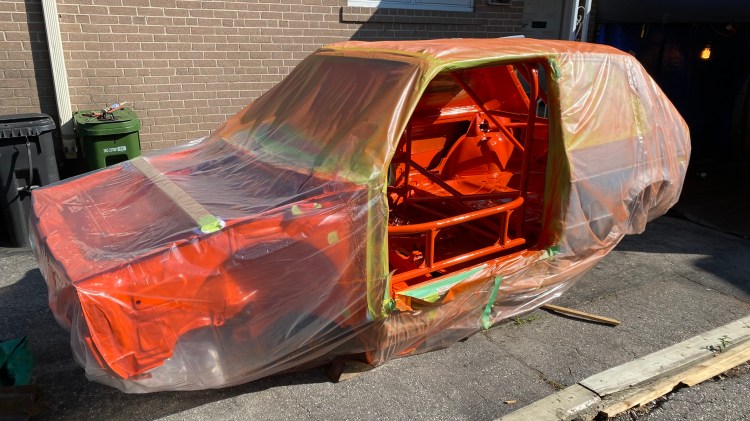
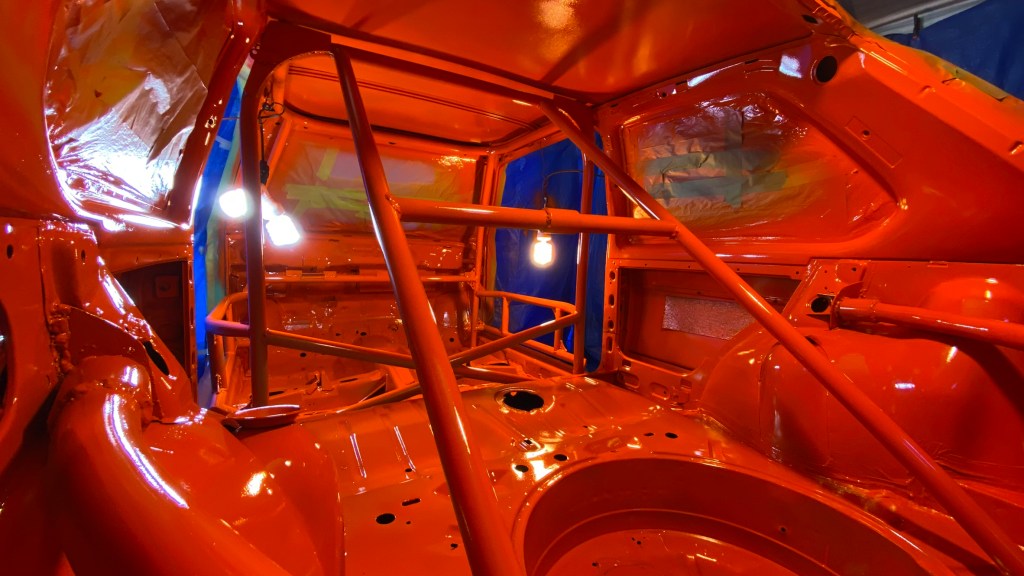
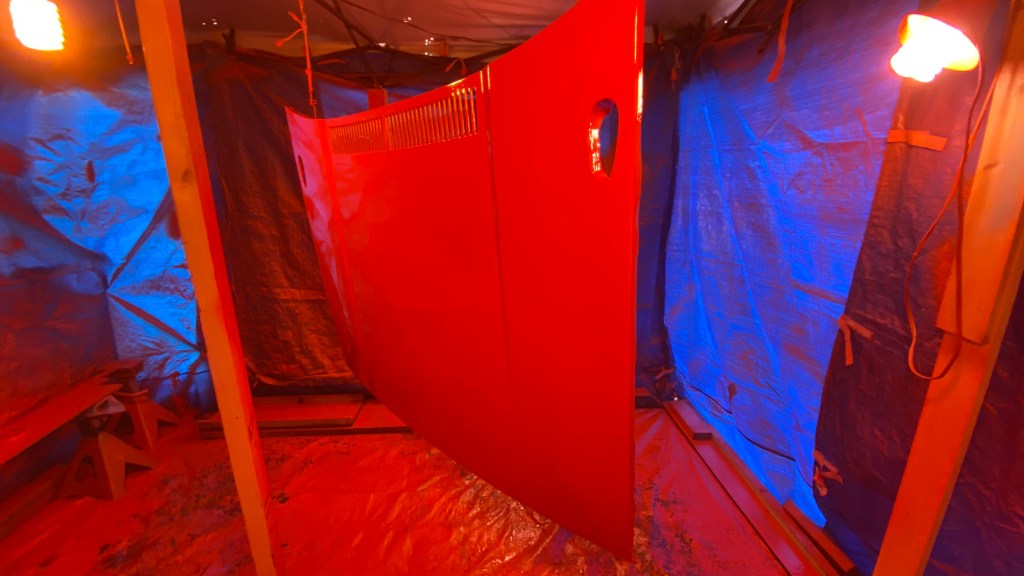
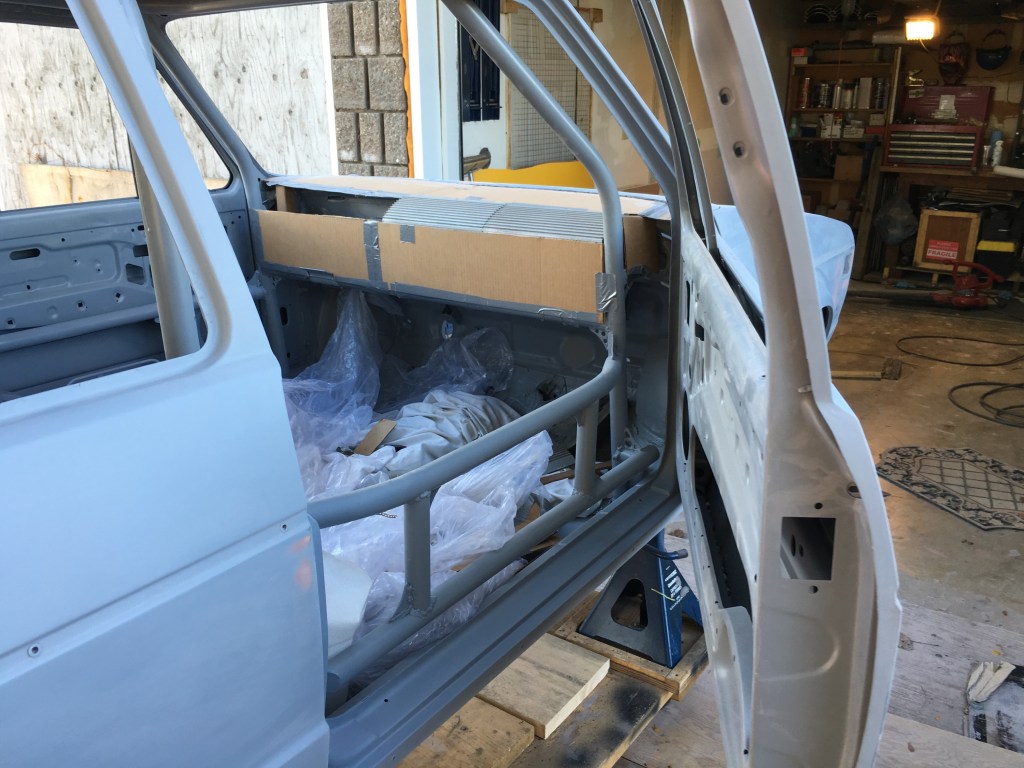
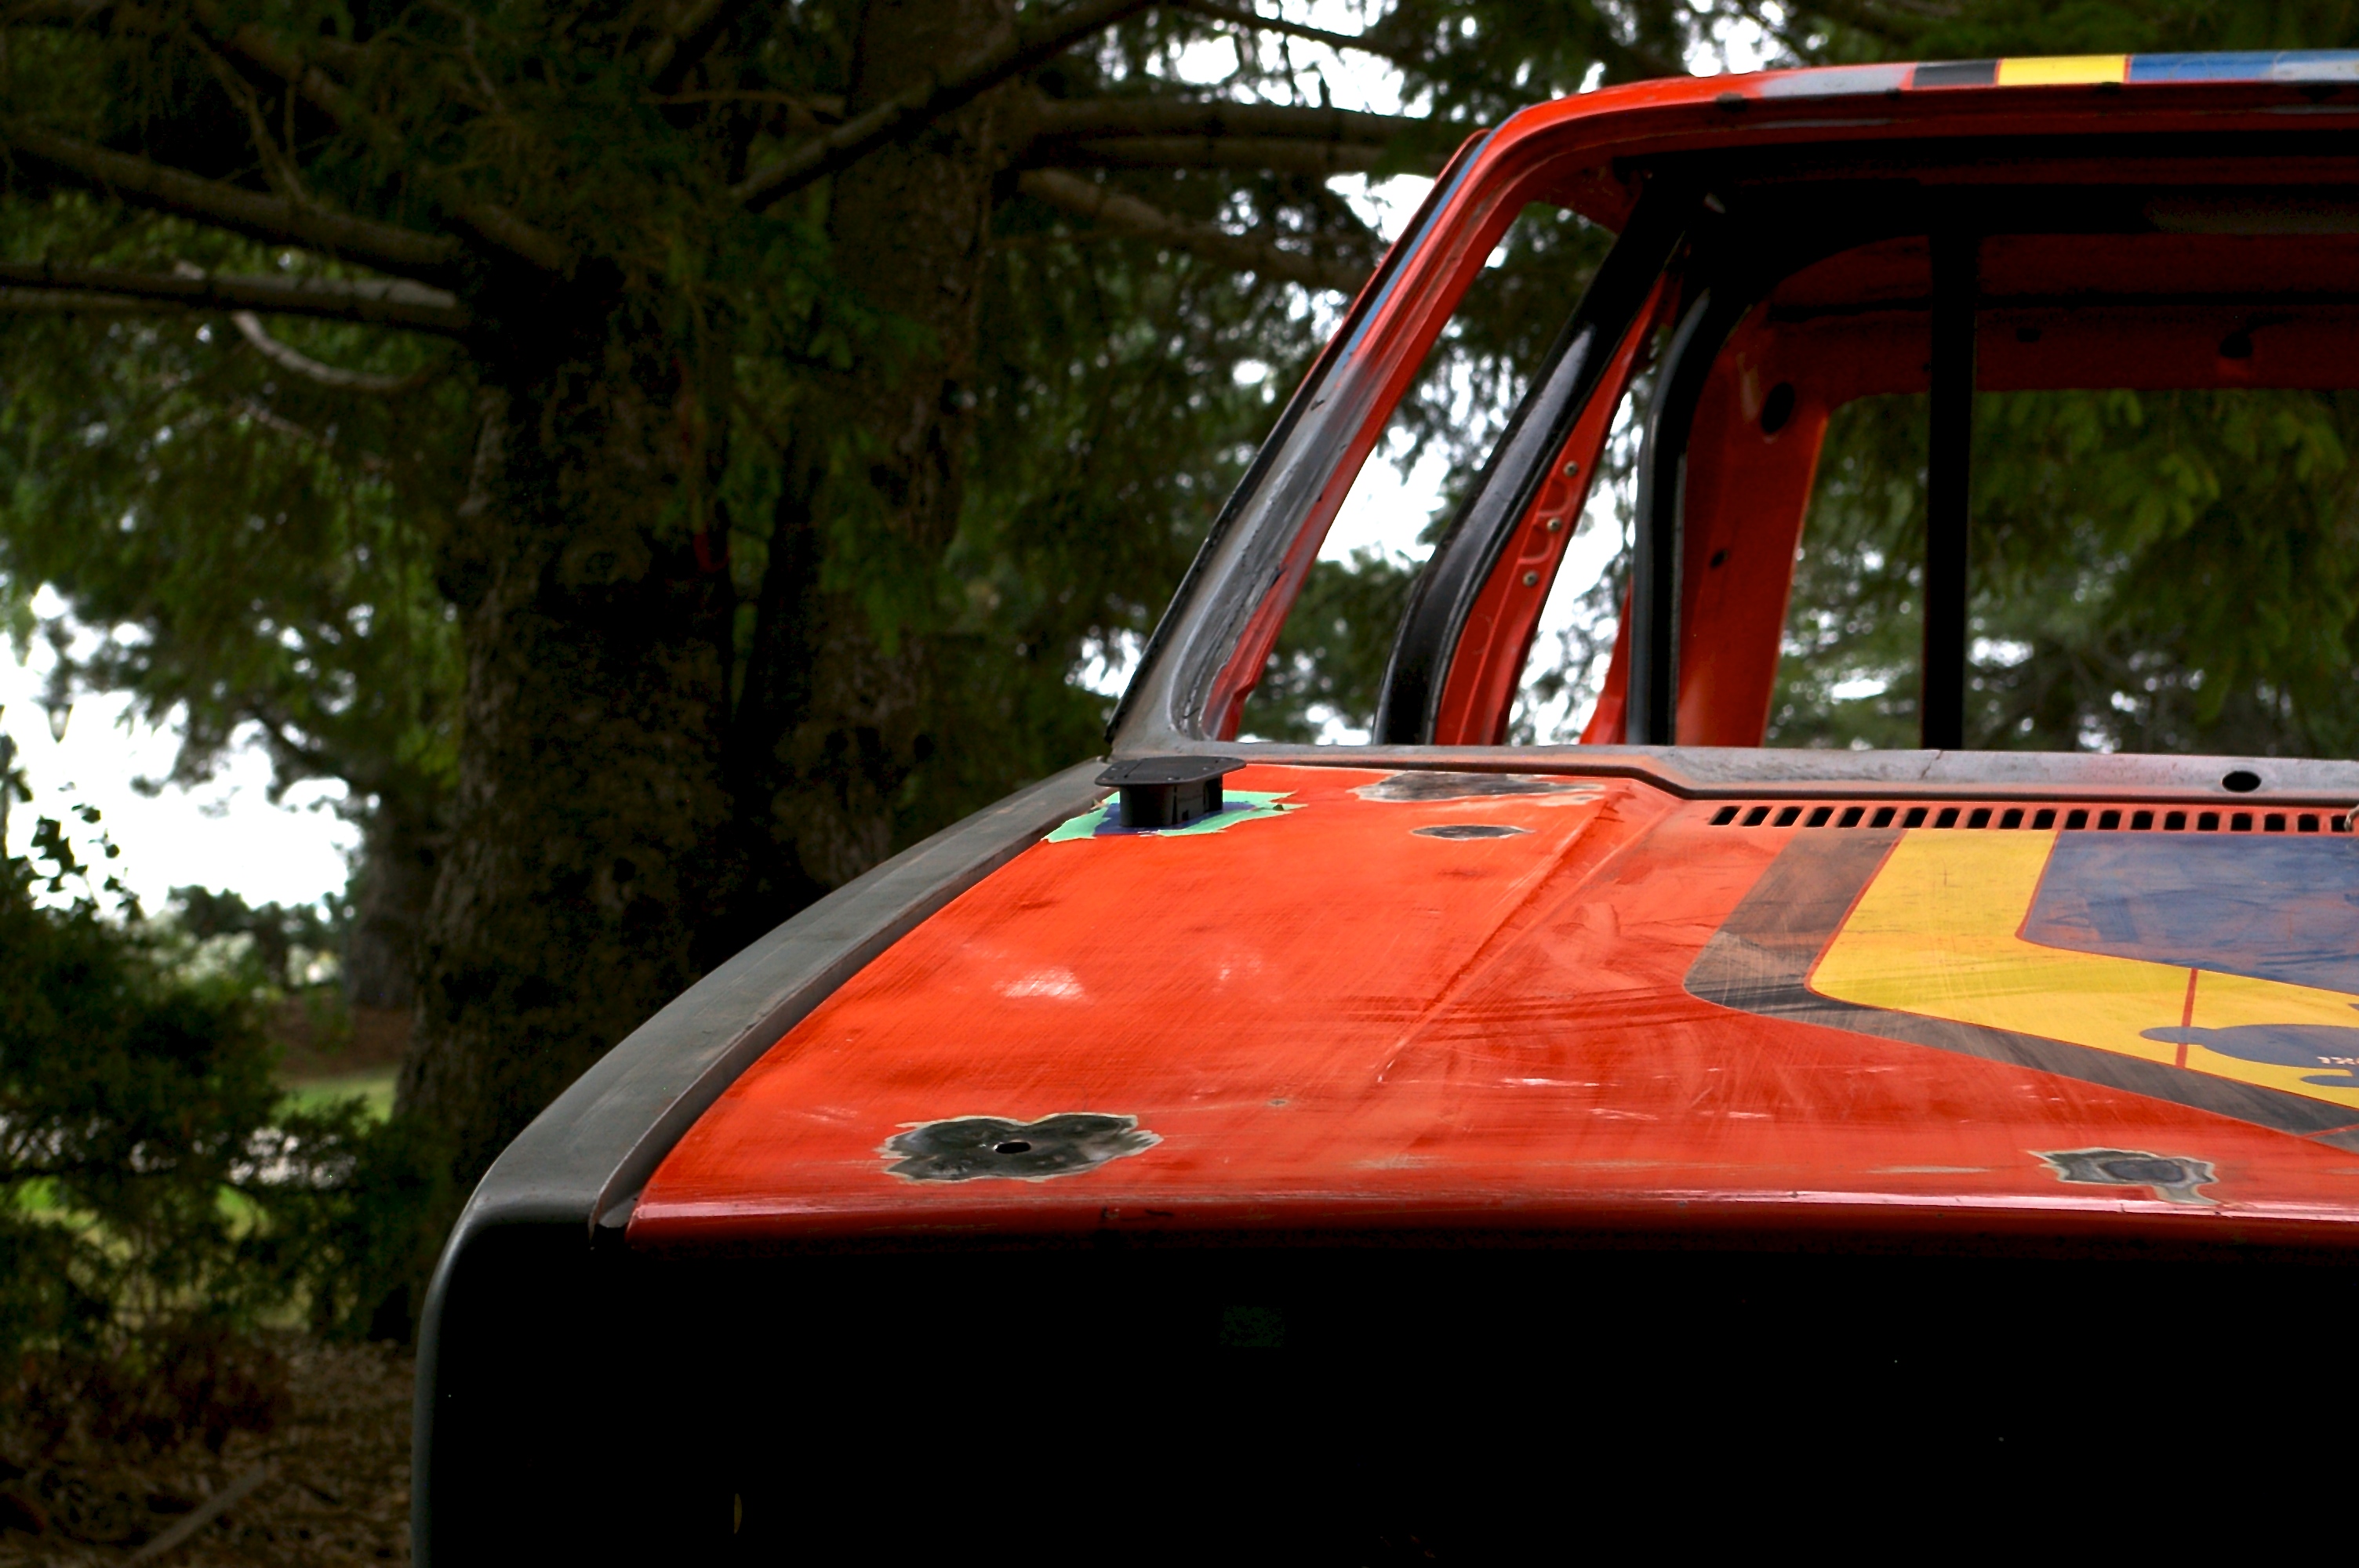
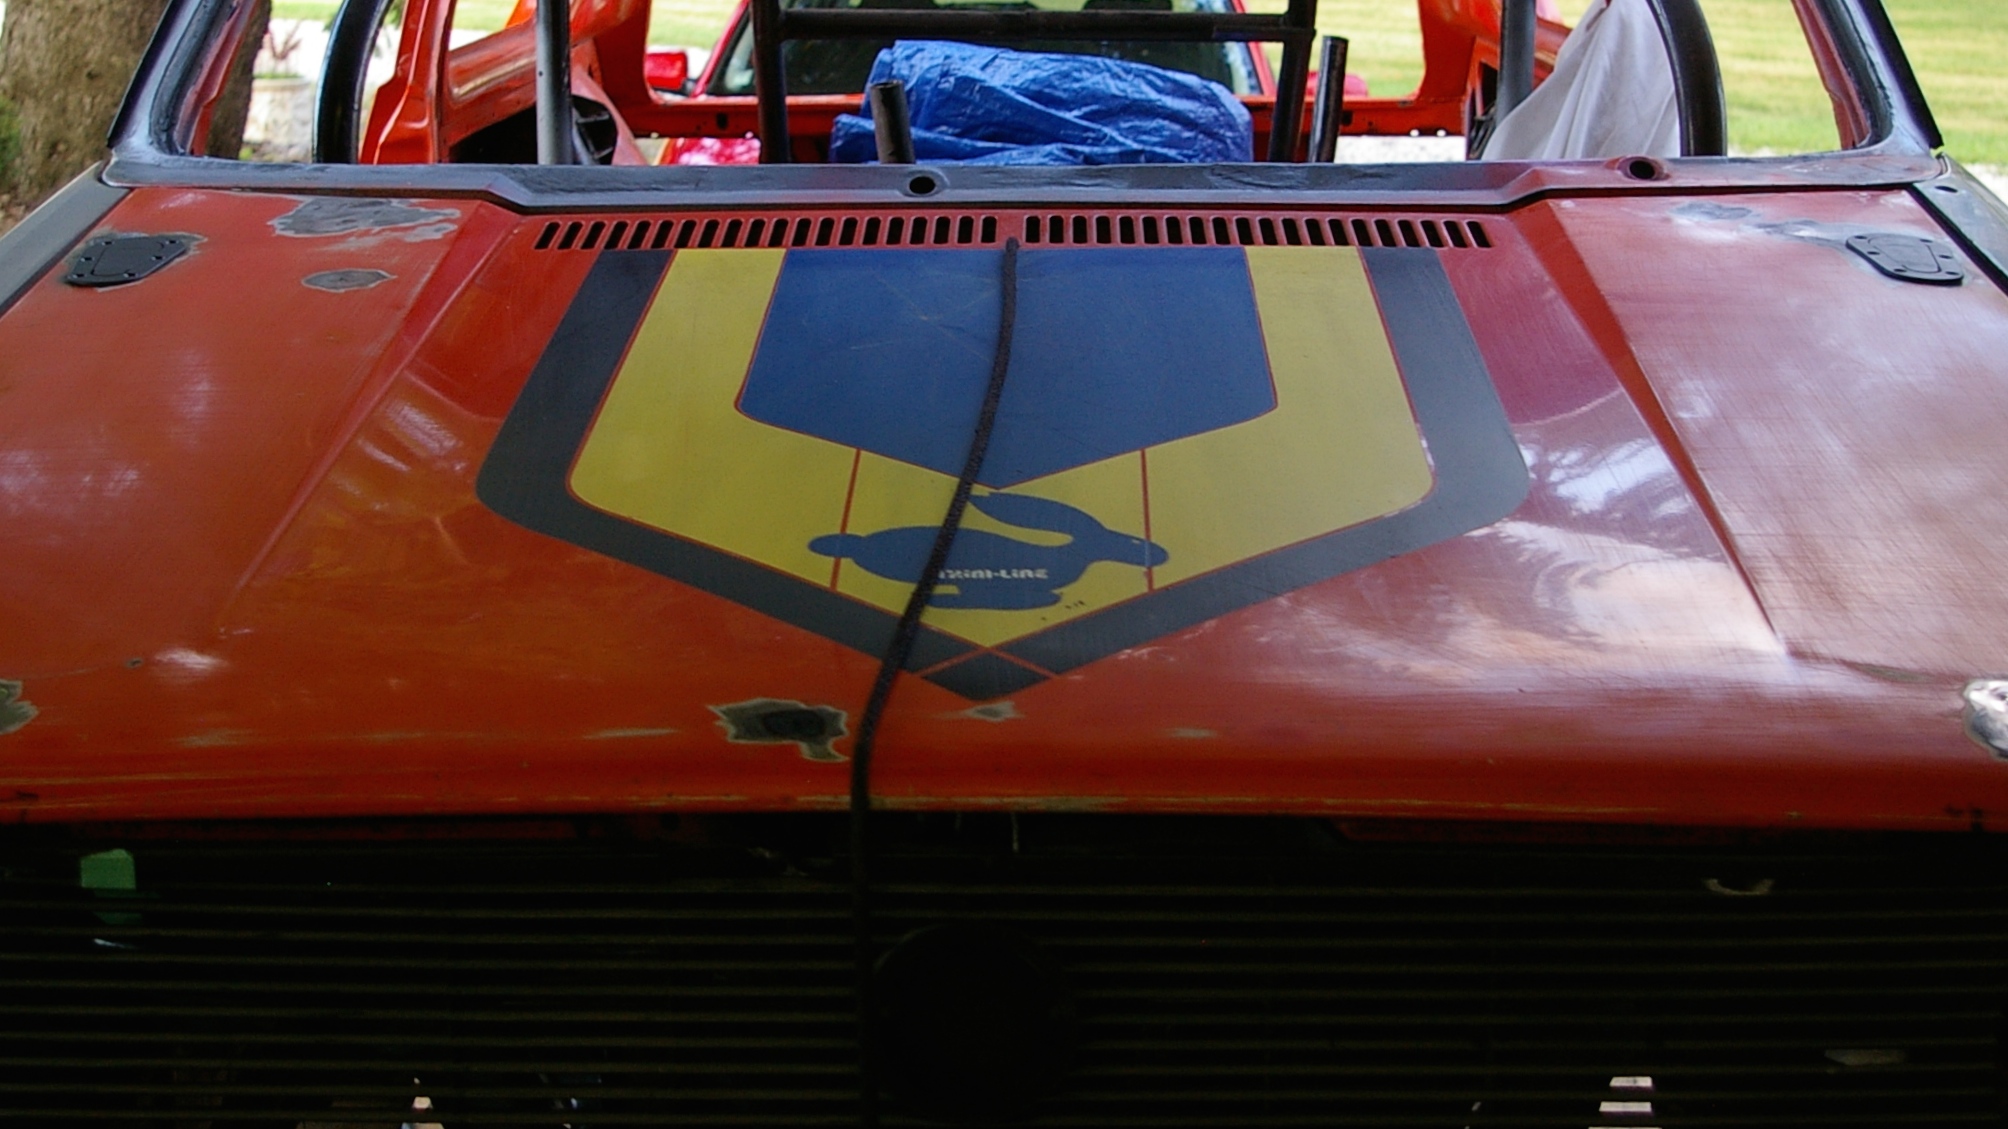
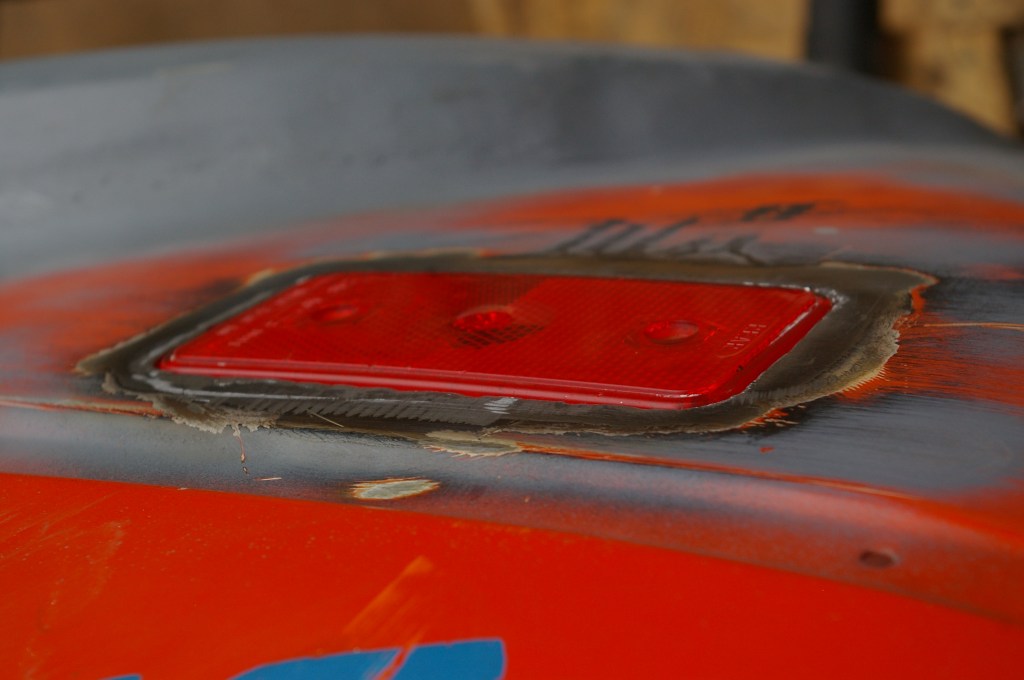
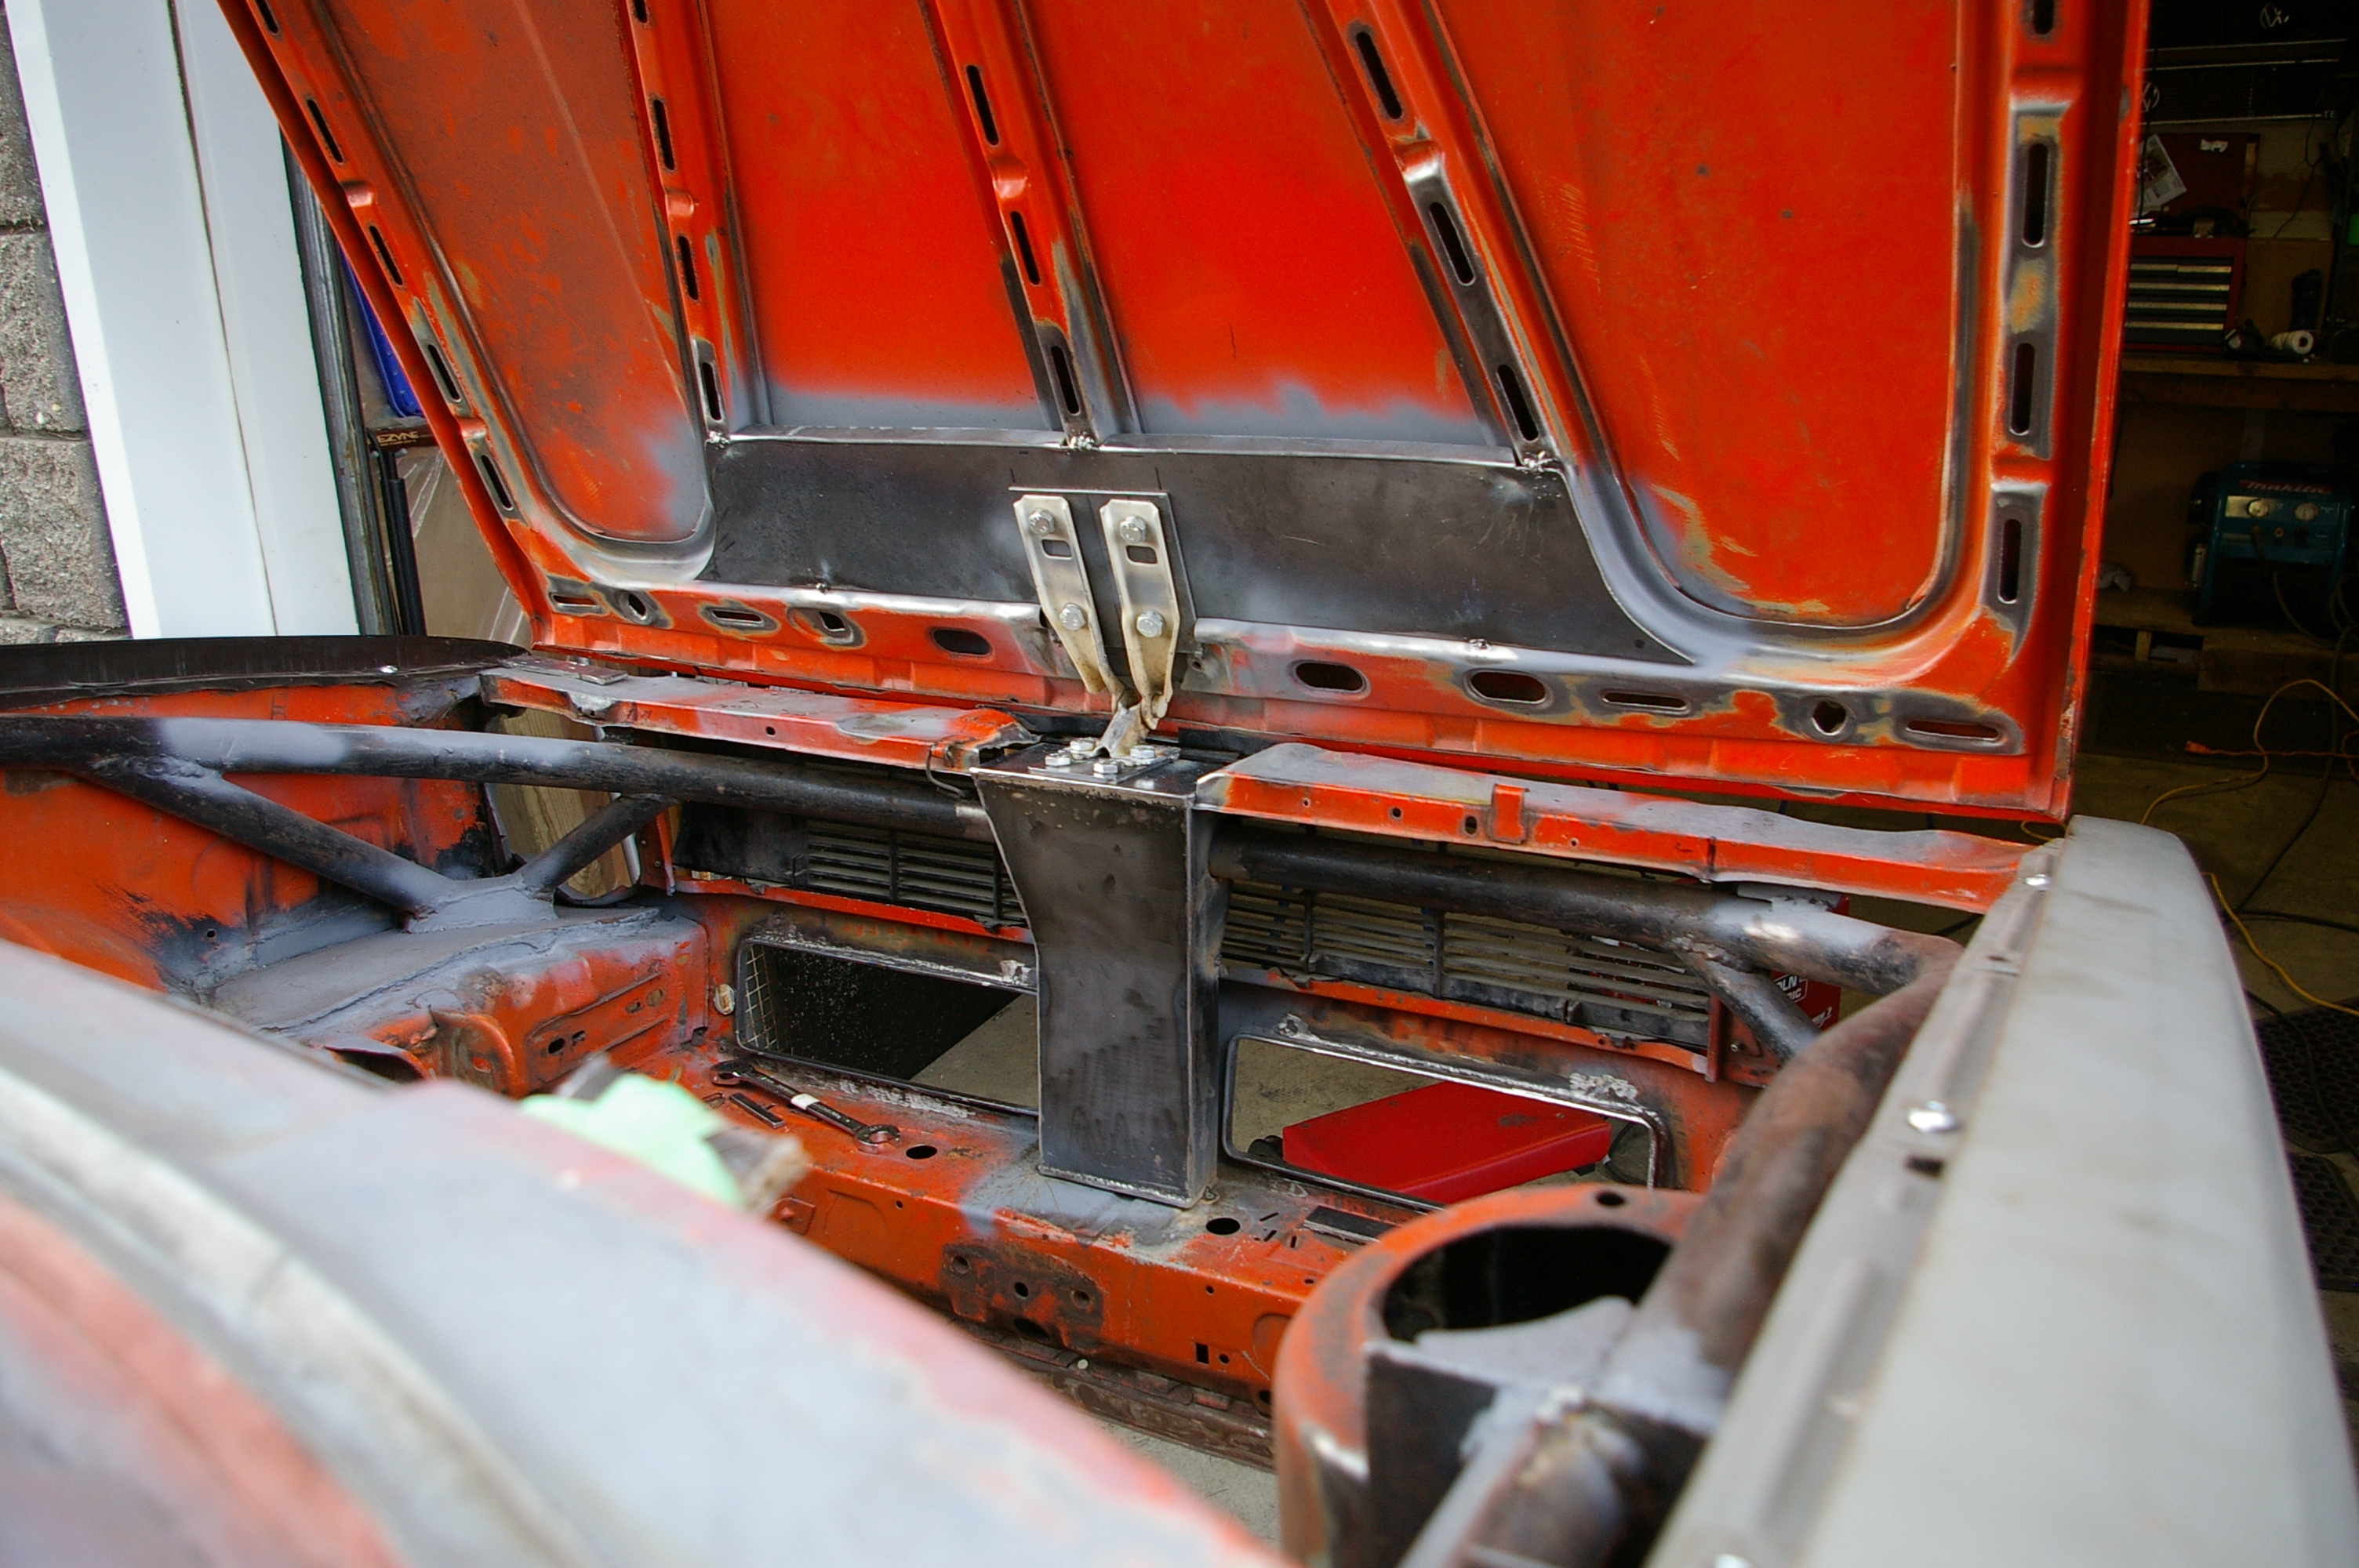
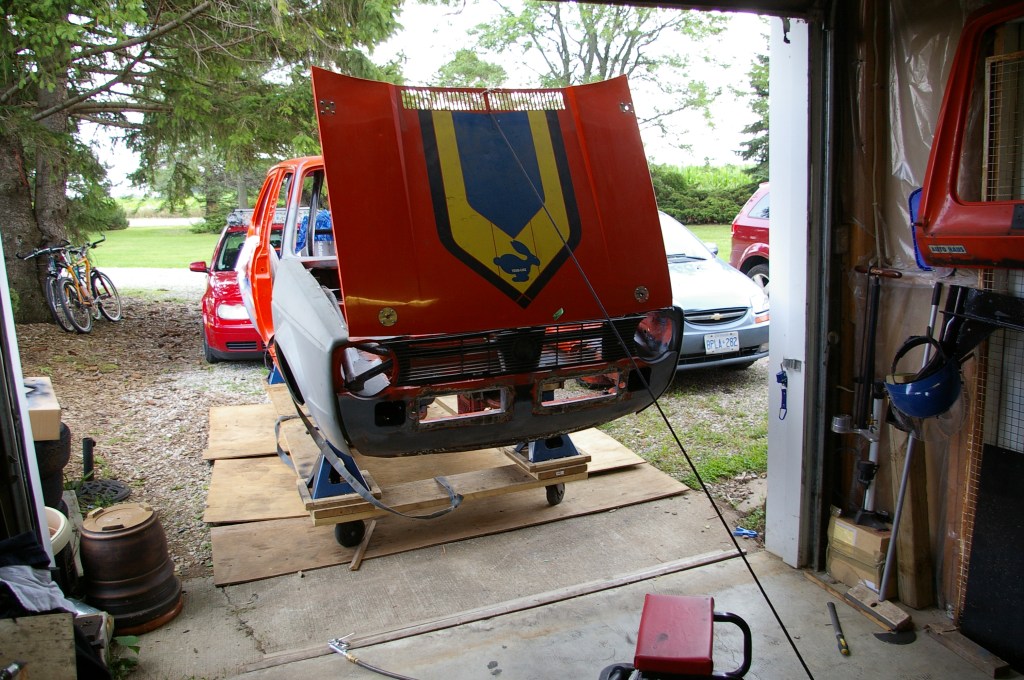
Day One – Set up the Tent Enclosure and install all lighting. Once set up and fully enclosed I sprayed the entire tent down with water on the inside, completely saturating and wetting all areas on the enclosure, Don’t forget the roof! This gets all dust and bits and material washed away and will help minimize dust and other stuff from ruining your fresh paint. If you have lights in the tent , which you will, because they are essential. Don’t use them at dusk or in the evening, they will attract bugs and said bugs will then be in the tent ready to pop out and land in your fresh paint at the last moment. Keep the weather in mind, rain is not an option, unless you are painting in a water tight enclosure. So make sure the forecast is clear for at least three days. After washing and letting it dry for a moment, move the car into the tent and prepare it for paint. Make sure all areas are masked properly as well as make sure all areas to be painted are thoroughly cleaned and prepped for paint. The final cleaning and prep will ultimately be the underlying quality and finish of your paint work. Clean, No Dust, Dirt, Wax, grease, etc etc, then clean it again, it’s got to be spotless

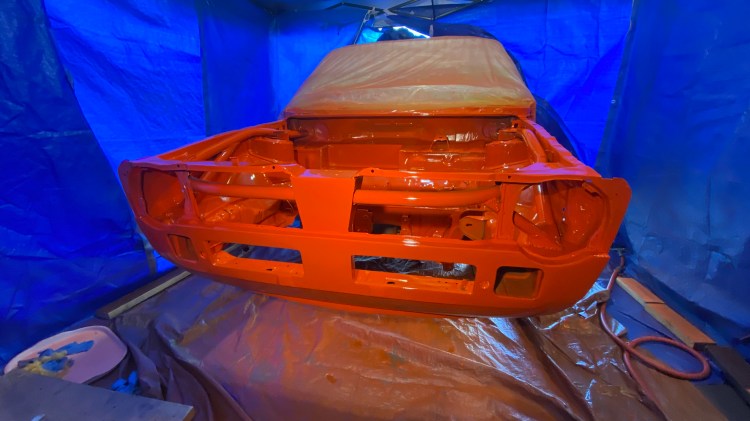
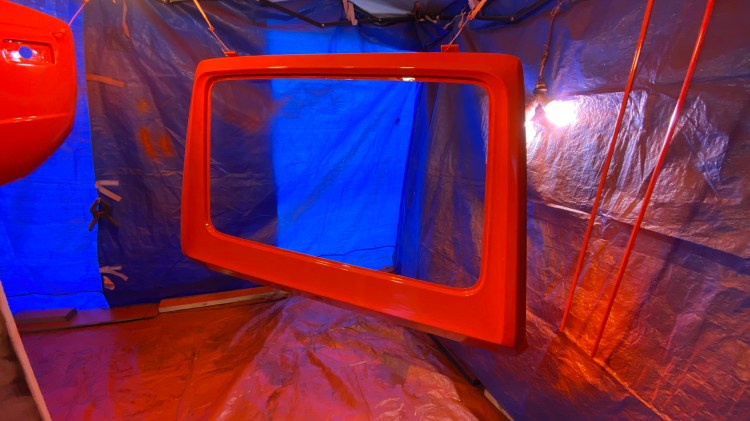
Day Two – Only enter the tent when you absolutely need to. Get all your materials ready and set up prior to entering the tent. lightly spray the inside of the tent walls and floor with water, this will help keep the dust down. Clean and prep the area to painted one final time, Use a tack cloth to remove the final dust and debris just before painting. Paint the area to be painted, wait, apply more paint, wait, apply more paint. there is no turning back at this stage, just do your best and get through it , trying to fix errors while painting can often make it worse. Sometimes it better to let it dry and the deal with the correction later. Carry a fine tip Cotton swab, fine tip tweezers, and a small rag on you as you paint, these tools will get you out of jams quickly so you can continue to paint.

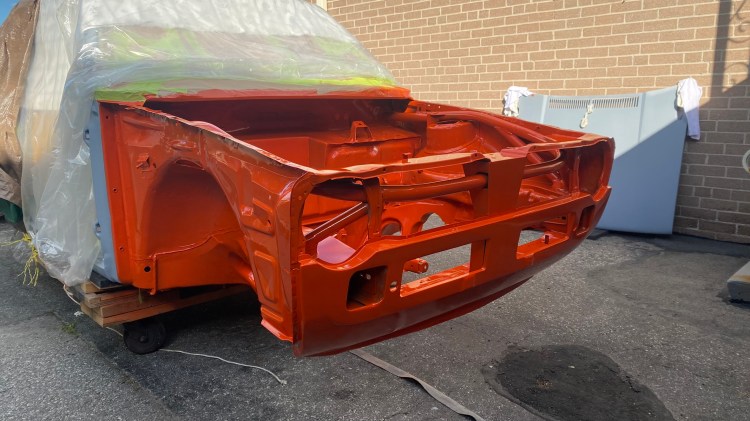
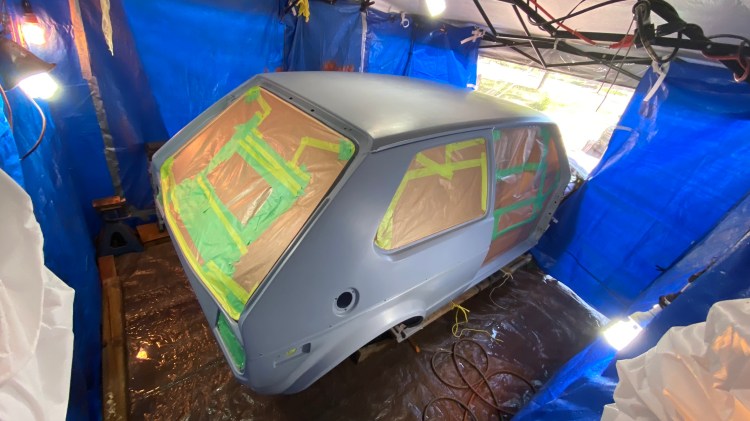
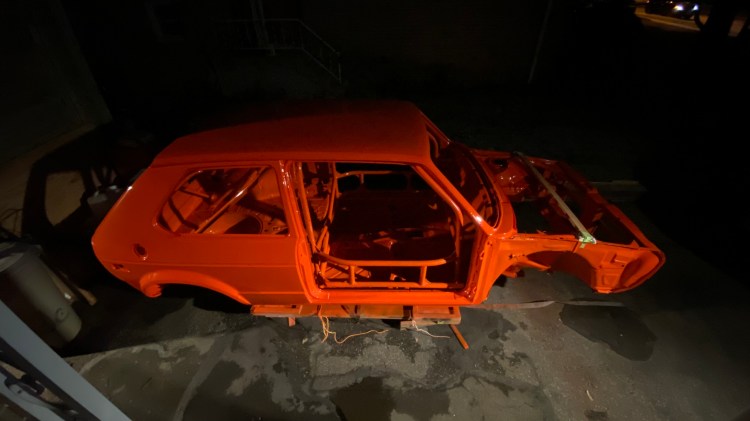
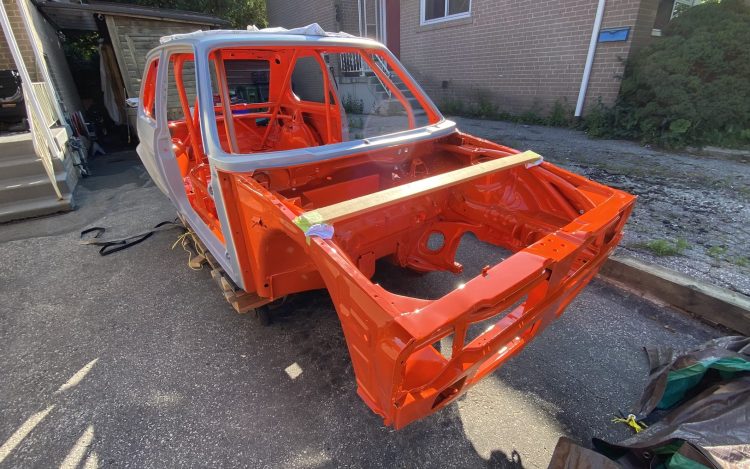
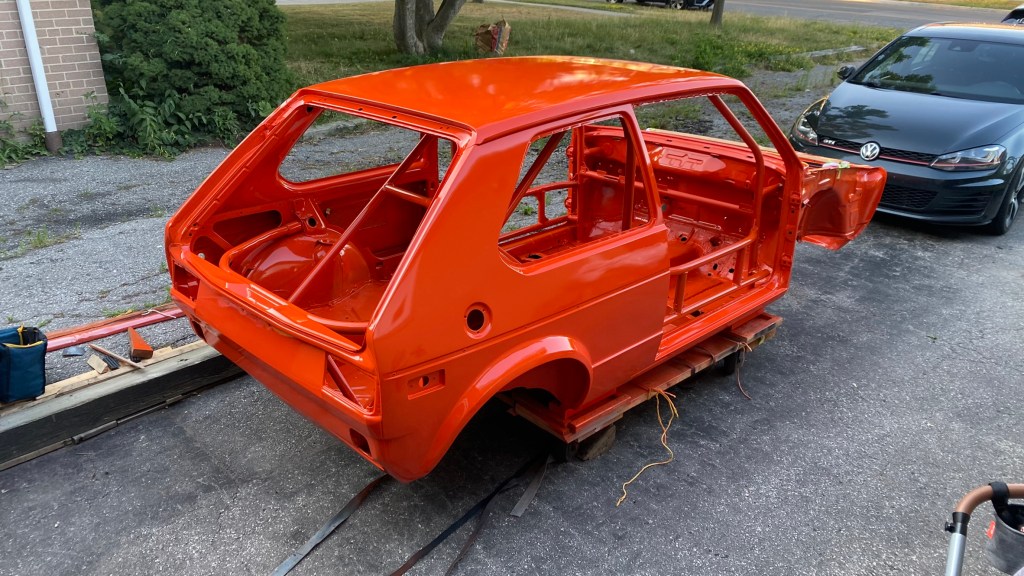
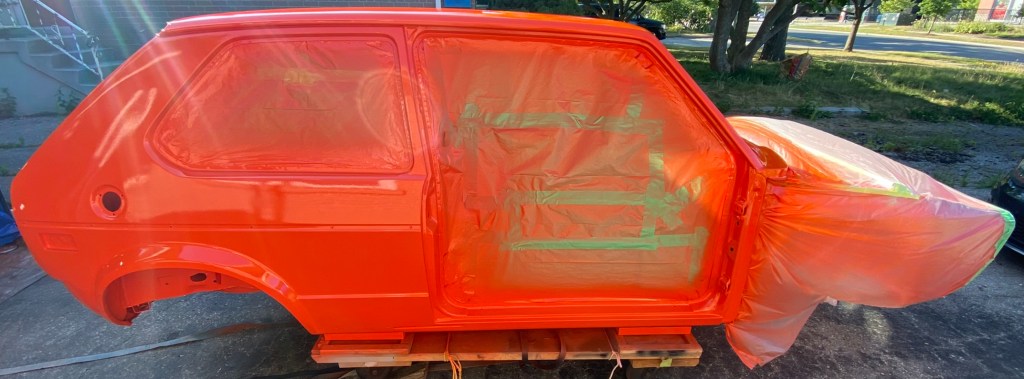
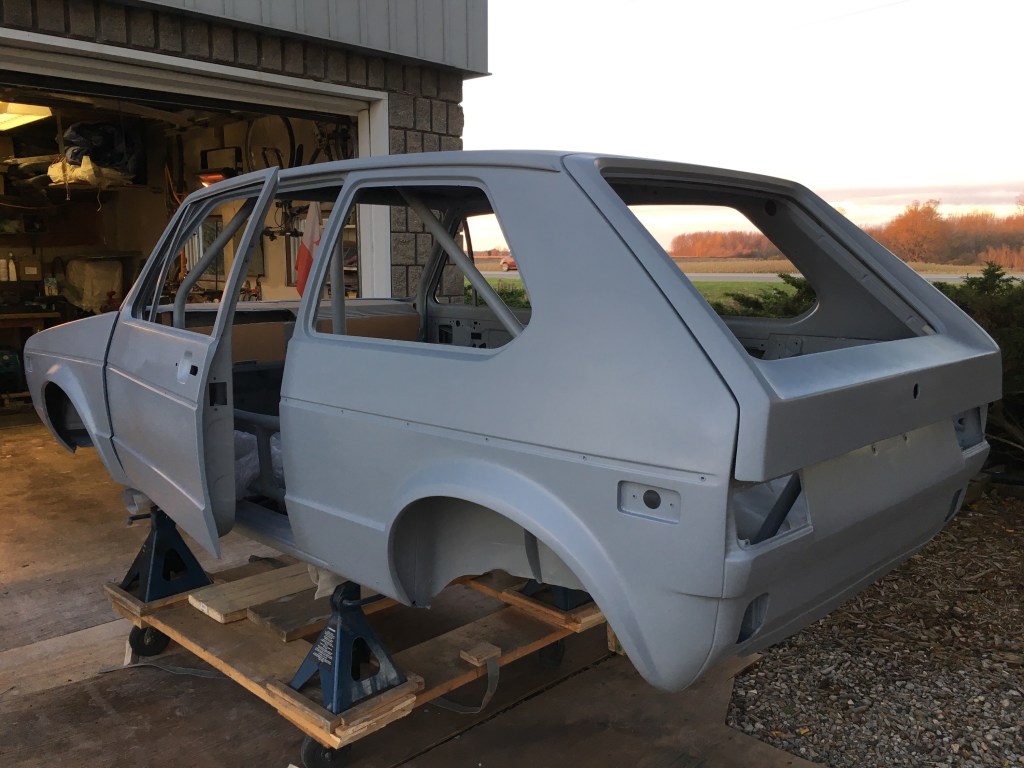
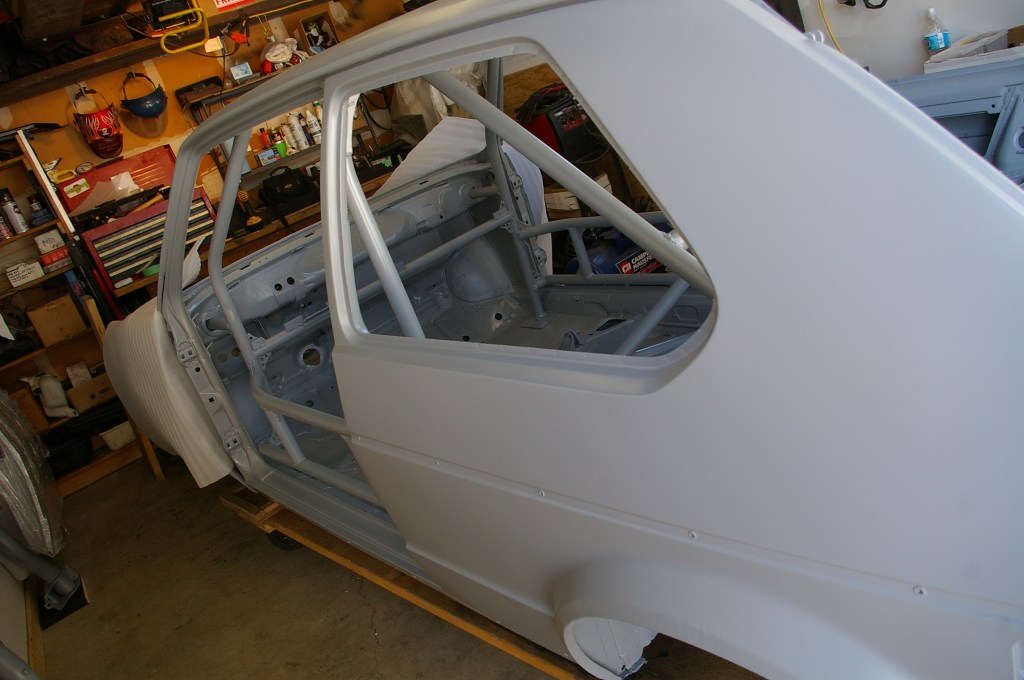
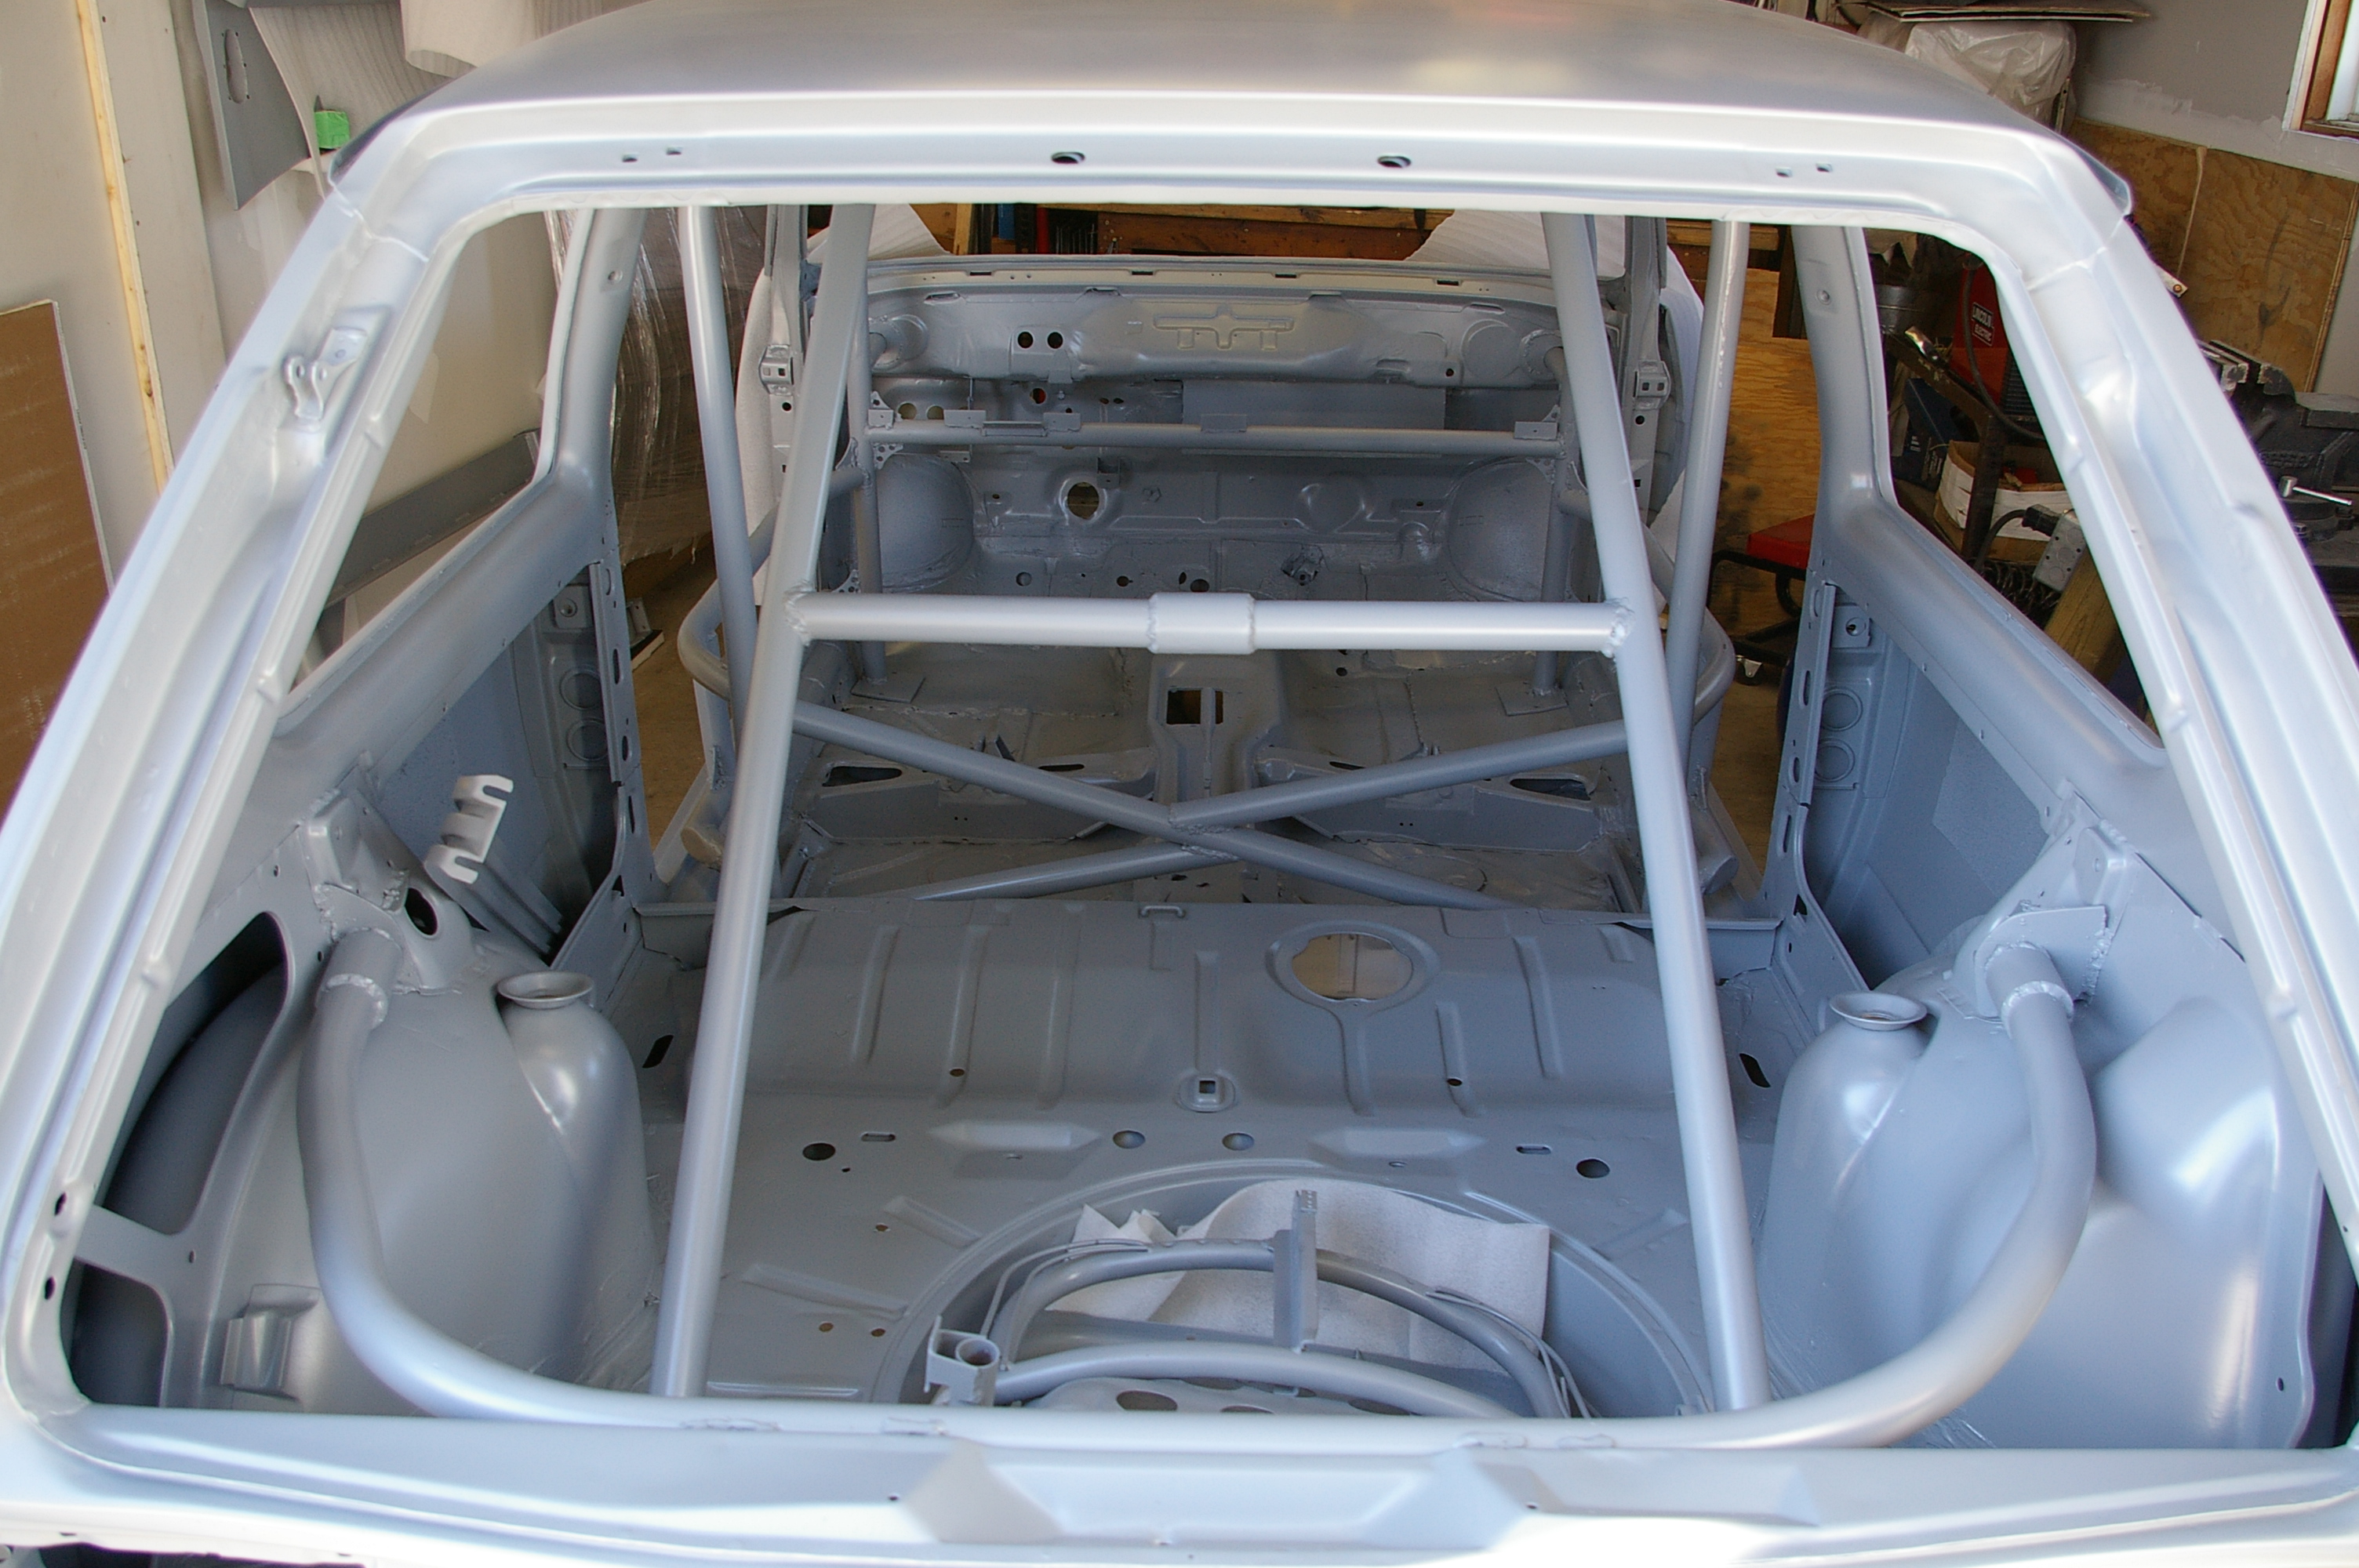
Day Three – Open that paint tent up and admire your work. Look at it shine, notice all the imperfections, great job! stage one done. Unmask and reveal the masterpiece, gain some courage to move forward with more confidence. Clean up.

Note For Next Time.

  • Keep a fine tip tweezer on Pin on hand while painting.
  • Where a Full Body Paint Suit, Tape your wrists and wear a headband, You will sweat and by taping your wrists and wearing a headband and hair net All the sweat drops will get caught before they fall on the fresh paint unexpectedly.
  • Keep a fresh wipe / small clean lint free rage on you while painting
  • Change you Mask Filters regularly

MK1 VW Restoration Blog – This One’s For Roger!

The Art of a Process.

To paint the entire car was no small task. It was frantic and hectic at times, Also zen like so to speak for some parts. Once your in the rhythm and chooching along, it starts to feel more natural. At that point you are able focus more on the art of the paint job rather then the process.

Painting Stages:

  • Front End
  • Inside of Car
  • Outside Main Body
  • Doors
  • Hood and Hatch
  • Small Misc Parts

When It’s All Said And Done

Was it worth it? Is the paint Job ‘Good’? Should you get someone else to paint your car? I now know why all the quotes to paint an entire car were some what astronomical. It was a lot of work. And there is a lot of area to cover which means a higher chance something will go wrong. Material costs alone were not ‘cheep’ compared to some other methods of painting a car on a budget. In the end , It was worth the cost saving and the paint turned out satisfactory. So depending on what results your are looking for in the end , will dictate whether you have someone else paint your car. If this is your first time like it was mine, there will be many hurdles to overcome and compromise to be made along the way. The paint job will not be perfect, but you will have a great sense of accomplishment and much insight for any future undertakings in general.

  • There will be paint runs
  • Bugs will land in the paint
  • Dust and debris will find its way to the crash paint.
  • The paint won’t be perfect. Though It can be close to perfect
  • You will inevitably miss some spots or spray the paint a little thin.

Finally! Let the Build Begin!

So now that the car is painted Its time to begin the Rebuild process , Where to start? there is no manual for this kind of thing. First things first though, More painting… for real. The task at had now is to under coat the car and protect areas like the wheel wheels, inner fender areas, and the bottom of the car. Once that task is complete The front fenders, doors, hatch and some window glass can get hung and installed.

So much work, So much Reward.

It’s taken a long time to reach this point in the restoration journey. A huge milestone, and yet the road seems to lengthen and widen, all at the same time.

VW MK1 Restoration Blog – Ready Set Go!


A location change was the fuel on the fire the got it all started again.

Not as ideal a working environment but I’ve actually got allot of stuff done. With time always in short supply, having the car close has been really beneficial.

Lets get this car ready for paint.

Its been a long time coming, many years in the works , waiting, more waiting, and now its finally time to get it ready for final paint, sounds simple enough, seems like a simple enough process. Let me tell you, its far from that. The individual steps are not all the complicated, they are just time consuming and very important. The final paint jobs finish and quality is solely dependent on your prep work. All the work is in the prep they say, and they ain’t kidding. It has taken a lot of hours but I’m here now and very excited to move on.

The Final Count Down

First things first, I plan to paint this car myself, big job, I got this though, at least that’s what I tell myself. First step to that is to section the car into areas to be painted, if i had the space and facilities i might be able to paint the whole car in one shot. The reality is that i have a small air compressor and very limited space. I will make it work though, and in order to do that I have to divide in order to conquer. I will paint the car in stages masking and sealing different areas as I go. My plan is start with the front clip / engine bay, then inside the cars cabin area, followed by the roof and rear quarters, front fenders, doors, hood, lastly the bottom of the car. Each stage requires masking and coving areas not intended to be painted. In the end I should have a fully painted car. woot!

Let the Painting Begin!

Building an enclosure out of a pop up tent was not the best solution but it was cheep and allowed me to remove it when not in use between painting sessions. Each Session consisting of about three days. How many sessions will it take to paint the car? Time will tell, though my estimate is currently at three.

Keep Doing the things and Moving Forward…..

MK1 VW Restoration Blog – Body Work Complete

A lot has happened and you’d never tell by looking at the car.  Funny how that works sometimes.  Finishing up the final body work after media blasting and epoxy primer has been quite the task and I am happy to say  I’ve made great strides in finalizing the car for paint.  Once satisfied with filling all smoothing all the small imperfections another final coat of body filler glazing putty is used to fill all the very small imperfection. After it all dies and is sanded and smoothed, putting a coat of primer reveals and seals any areas that may have been missed. finish those up and then move on, Its Close, and as with many things, time is always in short supply. getting to the next phase seems imminent yet monumentally far away. Funny how that works sometimes

VW MK1 Restoration Blog – Primer!

Gift Wrapped.

It’s hard to let go and move on to the next stage. You question if you are really ready and done all the task to be done before moving on. Is the quality of work sufficient? Have I missed any detail. Should I redo something. Change something. Stare at the project, gazing deep into at intricacies. Then….think a little more. Stare at it some more. Eventually though after pondering long enough you’ll know that it’s time.

My original vision for this project was to do every aspect of the build myself. Time passes though and maybe you don’t have the tools or don’t have the proper space or adequate environment for the task at hand. I made the decision it was better to send the car out to be striped to bare metal and then epoxy primed rather then do it myself. I was very eager to actually do these steps myself, yet the more I thought about it, and the closer I got to that stage it was apparent that the best thing to do is send it away.  Plenty of stripping and painting to be done on smaller items, so I feel as though I will be able to up my skill set still.  Even better, I can hone those skill on a much smaller scale without feeling overwhelmed buy such a large item and still all the techniques would apply if I ever feel like stripping and painting a whole car in the future. So off to the painter it went.

I was able to rent a covered trailer when taking the car to the paint shop, this worked out great as it kept the car clean. Unfortunately I was unable to get a covered trailer for the trip home when it mattered most it seems. So it’s industrial plastic wrap to the rescue. I took a moment before moving the car out side of the paint shop and thoroughly wrapped the whole car. Then I proceeded to packing tape the whole car to really secure the plastic wrap for its 40 min highway winter journey. Traveling on the highway would take its toll on an ill wrapped car, so I made sure everything was very secure.

Ready for the next step.

Once home I unloaded and unwrapped it, like an amazing gift on Christmas. It’s one of those moments when taking on a project like this that allows you to see the progress. To feel it, as if a goal has been achieved. It is without a doubt a big motivator to forge forward with the project. So with all this excitement and new drive to move forward it is the time aspect that holds me back. Finding the time to spend with a project like this can be quite hard. A very busy work schedule and often other more important obligations have as of late made it seemingly impossible to find the time to work on this project. A project I find allows me to centre myself, relieve built up stresses and clear my head. Part of the problem too is that the project is a good two hours away from me, making it a weekend affair most the time, when I have the time. With that said I recommend that if your time is hard to come by, having the project like this close so you can go at it for a few hours here and there in between a busy schedule would prove beneficial. I must also note that my original goal for this project was 3 years. a labor of love it is and forever it may take. The out come just as rewarding though. Now, I don’t really put a time frame on it and looking back to when the first picture were taken its coming up on that 3 year mark. Another three years it may be, and I’m ok with that. Like life, great things take time. You must work hard at archiving the goal and along the way plans may change. In the end though the reward will be above everything else.

So Fresh So Clean


MK1 VW Restoration Blog – The Second Pass.

Out With the old in with the new!

Continuing from where I left off the last time I worked on the car I needed to finish up some some smaller details that although small in nature still need to get done.  ‘Small things’ signify a great leap forward though, a departure from the large tasks and the eventual ‘next step’ looms ever closer.  When i started this car many moons ago it had a direction.  That direction has changes and morphed over the months and I imagine it will until the day its done.  I initially wanted to do every aspect of the build, I even wanted to strip and paint the car myself.  The more I dug into it the more I realized that for the end result that I’m looking for I just don’t have the space for the proper facilities.  Grateful for the space I already have to work on it I decided to let the pros media blast and epoxy prime the car come time, rather then try and do it my self.  Its the old Time vs. Money adage and in this case its the Time vs. Money + Space at premium conundrum. I believe though that in the end the final product will be better off for it and I will save a lot of time, moving the project forward at a little bit of a faster pace.  So with that decision made its now the little bits, the finishing touches on the general metal work that signify that the next phase is very much around the corner.  And that folks is pretty darn exciting. So on with it!

  AreoCatch Hood Latches.

IMGP0050

After converting the hood to a forward open hood I needed to come up with a new solution to secure the hood as the previously installed hood pins really only work if your going to lift the hood off completely, which is not the easiest thing to do by your self time and time again. After some internet time I came to these flush mount style  by AeroCatch. I decided that rather then cut a hole and leave the two sheets of sheet metal that make up the hood loose I would weld up some inserts to make a proper insert hole for the AeroCatch to mount into. Welding some capture nuts into the hood as well rather then using the supplied Nylock nuts for a more secure fit.

Making The Tools You Need.

I needed a dent puller to pull some smaller dents and fix some areas of the hood and such around the car.  I thought about buying one but when you break it down to its simplest part its pretty easy to make one from some scrapes laying around. And if you think about it the first person to think of something like this couldn’t buy on and had to make one for them self.  A dent puller works like this, the pointy end gets tack welded to the car, the user then grips the sliding sleeve and swiftly or gingerly depending on desired results strikes up to the top plate pulling the dent out. Sometimes in one pop, other time not.  So the larger top plate is used as a end stop to bash the sliding sleeve onto and the lower smaller plate stops the pin from flying out when your weld breaks on and up strike. Without it the pin and top plate would fly from the centre of the sleeve across the room.

Engine Update.

New Threaded Rod.

Not much to report here other then I got some threaded rod to make some studs to mount the intake manifold with.  The manifold for the Weber Carbs needs some pretty long studs and finding them in the right length and thread proved to be difficult so I decide to make some.

Last But Not Least.

Gas hood supports.

I got some gas struts for the hood.  Their purpose is two fold.  To add lateral stiffness to the centre mount hinge and to assit in opening and closing of the hood.  I found a place this side of the boarder http://www.lstechnologies.ca they were able to custom make a set for this application. Length, pressure, fittings, material, its all customizable and they were great in helping me out with things like the correct gas pressure for this application.  I chose to go with all stainless steel as it should fit nice with the other brushed and polished metals I plan on incorporation into the build.

The Second Pass.

When i first started the metal work I started at the front of the car and worked my way around fixing and patching metal as I went and saw fit.  The above work has completed my journey around the car for the first time.  Now its time for the second pass.  I will make another pass around the car fixing anything i may have missed and giving everything its final once over.  This should end this phase of work and I will be able to send it out to be media blasted and then epoxy primed after which I will start the task of body filler and block sanding. I see a lot of dusty work in my future yet in some ways I look forward to the departure from the grease and metal dust of fabrication and welding. One step closer to completion.

Volkswagen MK1 Restoration Blog – Getting back to it.

Getting back to it and getting it done one step at a time. It seems that every time i dig back into this project the list of to-do’s grows larger and larger, none the less by the end of this past weekends worth of work i felt accomplished with a new direction and motivation. For far to long i was just grinding and wire wheeling my way to insanity, it was nice to change it up and work on something that gives you more functional satisfaction rather then just doing a job because you have to in order to move to the next step. Right! lets get to it then. First lets start with a little job to get back into the swing of things followed by some ‘fail’ and then some ‘wins’.

Time-Serts.

Time-Sert threaded inserts with insertion tools.

I scored these a while ago along with some other sizes at a garage closing sale, picking them up not because i needed them but i knew that i would need them at some point. The upper alternator mounting  bolt had seized and broken off when trying to remove it and drilling it out seemed to be the best and only option.  After drilling it out i used the tools included with the Time-Serts to create a larger diameter hole with threads and and inset lip. The insert then uses a special thread tap that expands the insert slightly while cold forming the final few inner threads of the insert. A solution that with a little patience proved to be great fix.


FAIL!

FAIL!
FAIL!

Attempting to make a Frenching cups to recess the side markers into the body. Maybe if i made the plate form template thicker id have better results but ultimately it was bound to fail.  Different tools that are better suited for this kind of metal forming would work as well. So i had to figure out a different way to make it with the tools and skills on hand.

Much Better.

Much Better


The Results Are In.

Frenching the side markers.

I really like the clean look that you get by filling the marker mounting holes and removing the markers, yet on the other hand i like the increases in visibly the markers provide. So why not get the best of both looks and functionality.  Frenching the marker into the body keeps the original functionality with that clean shaven look. Win Win.


Next up – Oil.

Polished Oil Dip Stick Receiver.

The oil dip stick tube usually has a brittle plastic receiver for the stick, mine disintegrated and instead of buying a new one i just made one. Starting with some scrap aluminum round bar i drilled out the centre of each end to accommodate the oil tube end, as well as the dip stick end. The tube ends gets a small set screw and the whole assembly then gets polished and hammered into the engine block.


And Then This Happened.

Forward opening hood.

The car had hood pins installed and the original hinges had been cut away to make room for the roll cage that snakes its way through the engine bay. I had originally thought of keeping the hood hinges but after a few times taking the hood on and off you really realize how impossible it will be to do by yourself over and over without scratching the paint somewhere at least a little.  After a lot of thinking and looking at hot rods and customs this is what i came up with.  The structure the roll cage helps a lot with the rigidity of the front end as well as provide a great mounting point. Bracing the hood and welding some MK4 hood hinges together i pieced it together bit by bit. Card board templates are transferred over to plate steel, Fit, Tack, Position, Check, Double Check, Triple Check, Weld, Rinse and Repeat.  The hood still need some gas shock lifter on either side to  add some lateral stiffness as well as aid in lifting the hood effortlessly. The holes for the hood pin are still there and at this moment as I’m unsure if I’m going to fill them. i like the look the hood pins give to the car so i may end up installing them in a way that still allows the hood to open and close, some thinking is needed still on that though.


BONUS.

Seat are still up in the air.  I toyed with the idea of a bench seat in the front for a while. I then modded some leather seat out of a MK3, they fit nice but the styling was perhaps questionable. The current kick is creating my own using the original bases as a starting point.  Starting with a rough cardboard template to get a general idea of scaling.  Next up i will building them in a 3d program to get the look and feel of them as well as try out ideas and construction methods.

MK1 VW Restoration Blog – Epic Arch Repair.

I found a MK1 that was going to be scrapped and managed to cut out some body panels. My car needed new rear quarter panels on both the passenger and driver sides due to rust and an old repair. I used my angle grinder to remove both the outer and inner fender from the donor car, cutting out more metal than needed. The used fender required some repairs but was in better shape than mine. Looking back, buying a replacement aftermarket panel might have been easier, but the donor piece included the inner fender, which is important. Fixing a fender with lots of rust with another fender that also has rust may not have been the easy way of doing it but in the end it all works out.20130717-003225.jpg

Before fixing the arch, I repaired some hidden inner structural pieces behind the rear valance and inner fenders. After that, I worked on the donor fender, cutting and shaping metal pieces with tape templates, then tacked them into place. I cut off the damaged part of my car, leaving extra metal to overlap the new piece.

I clamped the arch on the car, ensuring all corners and body lines matched, and made a new cut for a good fit. Spot welding the pieces, I monitored for any warping while finishing the welds. After more patches on the rear, I moved on to grinding down the welds. Progress is being made, and soon I can begin stripping, priming, and applying body filler.

MK1 Volkswagen Restoration – Front End Repair.

20130619-150515.jpg
I finally got a chance to dig back into this project, and it couldn’t have come at a better time as I was starting to feel some withdrawal symptoms from it. Needless to say I was eager to get cracking and make some progress.

First up was cleaning the inner front fenders of all their undercoat and paint. Using a heat gun and scraper, I was able to remove the majority of the material. I then used a twisted wire wheel on a grinder to eliminate the remaining undercoating. Upon inspecting the cleaned inner fenders, I found additional spots requiring metal work. These spots had been previously covered by the undercoating. After finishing some patching here and there, I proceeded to strip the paint from the inner fenders using aircraft-grade stripper. It’s nasty stuff, but it works. Once all the paint was removed, I treated the fenders with a vinegar and water mix. This is to address the metal and deactivate any remaining micro rust spots. I’s inexpensive and works really well. After another thorough wash and dry, I sprayed the fenders with a few coats of POR15 paint. It really changed the look of the project, and made me feel like I was making headway in this monumental task. Allowing sufficient time to dry, I went under the car to continue with the wire wheel grinder, cleaning off all the debris from the bottom of the car in preparation for the same series of treatments that the inner fenders received.

20130619-150654.jpg

VW MK1 – 8v Engine Update.

20130211-023913.jpg

I’ve been piecing this engine together since I started this build and slowly it’s coming together a little bit at a time. I got the headers wrapped and mounted as well as fit the polished oil cap. Mounted the oil filter flange, water pump and coolant flanges. I’ll have to make up a block off plate for the side of the head were the heater usually hooks up as the heater has been deleted. I also fixed up the adjustable timing pulley that came with the car. The Allen head bolts had all striped out and the bolts them self were rusted in place. Some channel locks and a torch made fairly quick work of them and then I replaced with the appropriate grade hard wear in stainless. This is something I’ve been trying to do as much as possible. Stainless has much better corrosion resistances and looks nice as well.